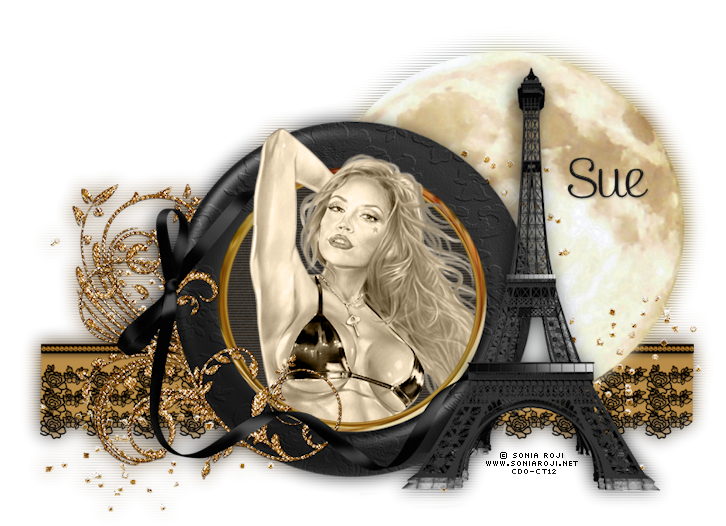
This tutorial was written by me and for those
who have a good working knowledge of psp.
Supplies Needed
Pepita Script
Cluster Frame
Filters
Okay, let's get started.
Remember to save often!!!
Open new canvas 800 x 800
Crop before saving if desired
Paste cluster frame
Using magic wand click inside frame area
Expand by 5
Add new layer
Fill with #484541
Apply scan lines using #c7ac7c
Change spacing to 2
Invert
Paste tube
Duplicate
Delete on bottom tube
Select none
Move bottom tube below frame
Crop bottom part of top tube
Colorize tube Hue - 0 Saturation - 0
Float tube
Add new layer
Fill with #dac2a0
Change blend mode to screen
Play around with opacity to get the look you want.
Once you have tag how you like it - copy merge
Paste back into tag
Move to bottom
Blur - Gaussian Blur at 10
Apply scan lines again to this layer changing color to #262626
Add drop shadow to layers of choice
Add name
I applied gel effect to mine
Add copyright info
Save


No comments:
Post a Comment